
Table of contents
- Introduction to End-of-Lease Cleaning
- End of Lease Cleaning Approaches
- Asking for inspection
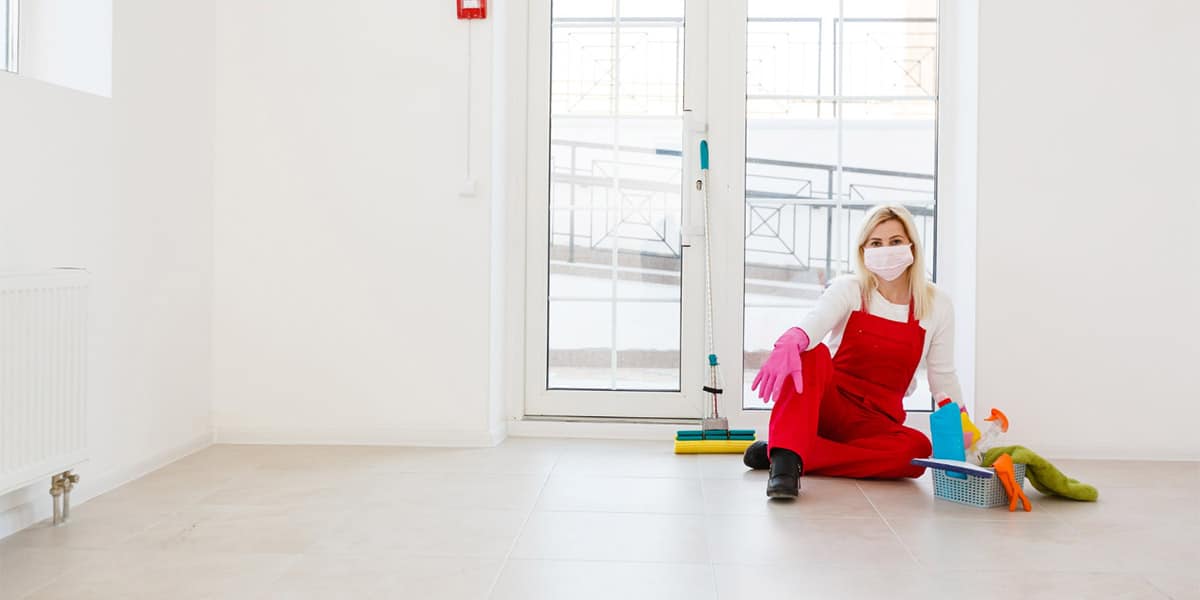
Introduction to End-of-Lease Cleaning
Have you ever wondered what end-of-lease cleaning means? When we lease a house, it becomes our own for a specific period. We take the responsibility for cleaning, maintenance, and replacements. However, when it is time to move out, it is a legal obligation to return the house to its original state. Hence, tenants need to clean the property thoroughly. This thorough cleaning process is commonly known as end-of-lease cleaning.
Alternatively, it goes by other names also, such as end-of-tenancy cleaning, exit cleaning, vacate cleaning, move-out cleaning, or rental cleaning. In many instances, tenants deposit the bond at the time of the agreement, which is refunded only upon leaving the property as expected. Therefore, people also refer to it as bond cleaning or bond back cleaning.
Since we go through, what exactly is end-of-lease cleaning? Why is it also termed bond cleaning? You might be pondering:
- Do we need to do this?
- Should every corner of the house be cleaned?
- Are we obligated to replace any broken materials?
The answer is a resounding YES. The motivation behind this deep cleaning, replacement, and repairs is to attract new prospective clients effortlessly. It also ensures the comfort of new tenants. For landlords and real estate agents, this deep cleaning is essential. And for tenants, the primary goal is to retrieve the bond money. Therefore, these tasks are not just advisable but mandatory.
How long does it take to perform an end-of-lease clean?
The answer depends on the size and condition of the house or apartment. It also depends on who is handling the cleaning. If you are tackling it by yourself, the process might take longer. On the other hand, professional cleaners typically complete end-of-lease cleaning within 4 to 7 hours.
End of Lease Cleaning Cost
Now that we understand the time needed for end of lease cleaning, let us explore the cost of end-of-lease cleaning. The cost range starts from approximately $200 for end of lease cleaning service or $35 per hour if you opt for hourly service. As the cost varies across cleaning companies, it is better to check out with the cleaning companies. Other factors that influence the price include the nature of the cleaning service required, the property’s size, the technology and equipment used, and the complexity of the work. Extensive services naturally come with a higher price tag.
End of Lease Cleaning Approaches
Now, we know the reason behind the deep cleaning. You may wonder, do we need to hire the experts for the job? We can also do the lease cleaning by ourselves. Landlords or Property Realtors may suggest you hire professionals, but you are the person to decide.
{A quick tip – if your rented house is not very dirty, you can do it yourself. For carpets, you can hire a professional carpet cleaner to do the steam cleaning because most landlords or property managers ask for carpet steam cleaning for carpets. But if multiple areas need cleaning, the best solution is to hire end of lease cleaners. This way, you can ensure you get your bond back.}
Let us go through both approaches – hiring cleaning professionals and Cleaning by yourself – to learn and understand the best method for you.
Hiring End of Lease Cleaning Professionals
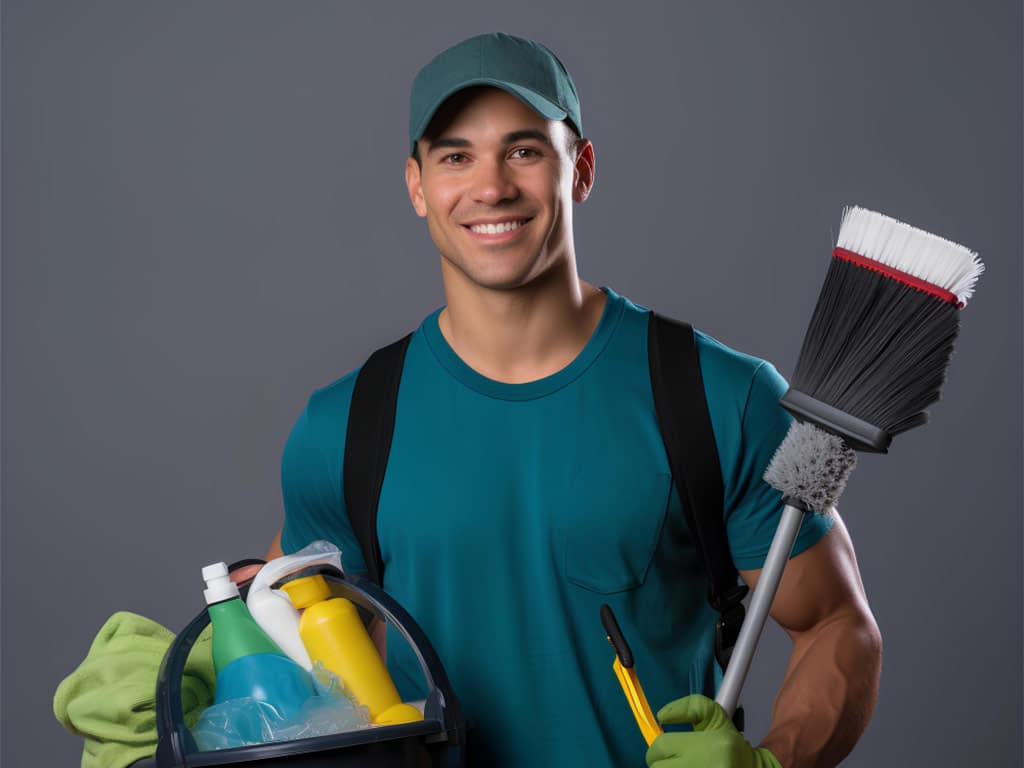
Hiring end of lease cleaning professionals at the lease end can be a wise decision for several reasons. It can help you ensure the property is in the same condition as when you first moved in. Additionally, professional cleaners are experienced and have the training to thoroughly clean and sanitize the property. Finally, hiring cleaning professionals can save you time and effort, allowing you to focus on other tasks related to moving out and transitioning to your new home. So, hiring cleaning professionals can be especially important if you want to avoid any potential disputes over security deposits or damage charges. But, you should carefully weigh the pros and cons of hiring end of lease cleaners to make a perfect decision.
Pros and Cons of Hiring end of lease cleaners
The Benefits of Hiring Professional Cleaners
Here are the benefits of hiring professional cleaners:
- Expertise That Matters: Professional cleaners bring valuable skills and knowledge to the table. Their expertise ensures a thorough cleaning, addressing every nook and cranny that may need extra attention. This proficiency sets them apart, making them adept at handling various cleaning challenges.
- Time-Saving Advantage: One of the primary advantages of hiring professional cleaning services is the time saved. By entrusting the cleaning to experts, you free yourself from the laborious task of cleaning the property. This time and effort can be redirected towards other essential aspects of your life.
- Attention to Detail for a Spotless Outcome: Trained to pay attention to small details, professional cleaners guarantee a top-to-bottom clean. The meticulous approach ensures that not a single corner is overlooked, leaving the property impeccably clean.
- Convenience Beyond Measure: Engaging a professional cleaning service offers unparalleled convenience. No longer will you worry about buying cleaning supplies or coordinating the cleaning process. The professionals handle it all, allowing you to focus on more critical aspects of the end-of-lease process.
- Enhancing Property Appearance: A professional cleaning service contributes significantly to enhancing the overall appearance of the property. This boost in cleanliness can make the property more attractive to potential tenants or buyers, leaving a lasting positive impression.
- Stress Reduction: The decision to hire professionals alleviates stress associated with cleaning. No more concerns about the property’s cleanliness; instead, you can concentrate on other vital elements of the end-of-lease process.
- Mitigating Disputes Through Cleanliness: A well-maintained property can prevent potential disputes with landlords or property managers. It serves as evidence of your responsible tenancy, demonstrating that you’ve taken care of the property throughout your stay.
- Technological Advantage: Experienced and trusted cleaners leverage advanced technological equipment to ensure a superior clean. Their access to these tools sets them apart, promising a level of cleanliness that might be challenging to achieve independently.
Considering the Drawbacks
Here are the drawbacks of hiring professional cleaners:
- Cost Considerations: One notable drawback is the cost associated with professional cleaning services. Especially for thorough cleaning or larger properties, the expenses can add up significantly.
- Limited Control Over the Process: When opting for professional cleaning services, you might experience a reduced level of control over the cleaning process. Customizing the cleaning to specific needs or preferences may be limited.
- Communication Challenges: Communication issues may arise if you’re not present during the cleaning process. Addressing any problems that surface becomes more challenging when you’re not directly overseeing the cleaning.
- Availability Concerns: Professional cleaning services may not always be available on short notice. Potential delays in the end-of-lease process could occur if services are fully booked or not readily accessible.
- Service Limitations: Some professional cleaning services might not offer specialized cleaning, such as carpet cleaning or window washing. This could necessitate hiring additional contractors for specific cleaning needs.
- Dependency on the Service: While relying on a professional cleaning service, there’s a risk of becoming dependent on their expertise. This dependency might leave you without the necessary skills to clean the property yourself if the need arises.
The decision to hire professional cleaners comes with distinct advantages and drawbacks. Understanding these factors allows for an informed choice, ensuring the end-of-lease process aligns with your priorities and requirements.
Now, after weighing the pros and cons and you decide to hire end of lease cleaners, the next step is to choose a professional and reliable cleaner to delegate the job. Since many cleaning companies provide end of lease cleaning services, we should follow helpful steps to identify reliable end of lease cleaners. These include – online searches, asking for recommendations, checking classifieds and local listings, social media, etc. You can use these methods to get the list of cleaning companies.
Finding the Right End-of-Lease Cleaning Professionals
Hiring the best professionals for end-of-lease cleaning can be straightforward when you follow these steps. Let’s break it down into manageable tasks.
Step 1: Create a List of Local Cleaners
Start with an online search. Use a search engine to find companies offering end-of-lease cleaning services in your area. Check reviews on websites listing local cleaning companies.
Step 2: Ask for Recommendations
Seek advice from friends, family, or colleagues who have used such services before. Their experiences can guide you to reliable companies.
Step 3: Check Classifieds and Local Listings
Scan classified ads or community bulletin boards for cleaning services. Local newspapers often have listings too.
Step 4: Contact Professional Cleaning Associations
Reach out to professional cleaning associations for directories of member companies offering end-of-lease cleaning. They can provide trustworthy recommendations.
Step 5: Utilize Social Media
Social media platforms are not just for connecting with friends. Follow local cleaning companies for updates and direct communication.
Assessing the Companies
Once you have a list, evaluate them based on the following factors:
- Reviews: Read online reviews on platforms like Google and Facebook. Understand the company’s reputation, keeping in mind that no company is perfect.
- Experience and Accreditation: Consider the company’s experience and any accreditations they may have. Check their website for information and ask for photos of past projects.
- Warranty Policies: Review the company’s policies on warranties, guarantees, and compensation. Ensure cleaners undergo security screenings and are insured.
- Cleaning Quote: Research thoroughly and ask questions to understand what services are included in the price. Don’t solely rely on cost; consider the value of the service.
By following these steps, you can narrow down your options and choose a reliable end-of-lease cleaning company. Don’t rush; communicate with the top three to five companies to make an informed decision.
DIY End of Lease Cleaning
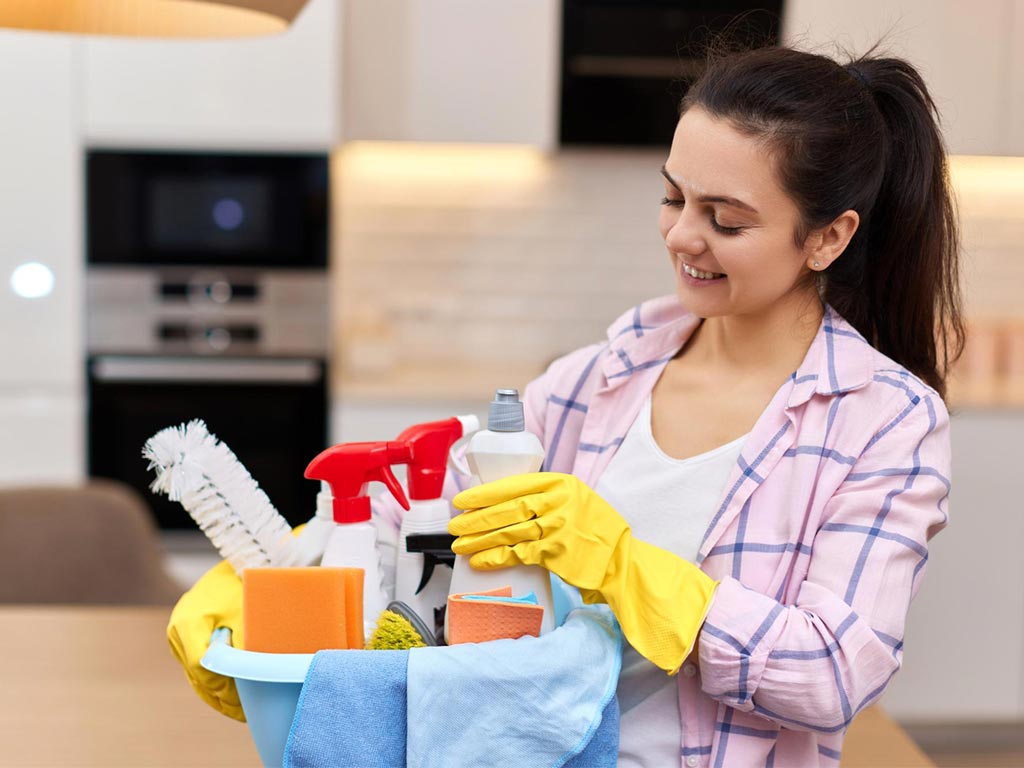
If you are cleaning yourself, it is good to start cleaning the property early and allocate enough time to complete all necessary tasks. Since it is lease end, this involves deep cleaning the property. You should remove your personal belongings and dispose of any trash or debris. Cleaning by yourself requires time and effort. Hence, you should carefully weigh the pros and cons of DIY end of lease cleaning the property to make a perfect decision.
Pros and Cons of DIY Cleaning
Pros:
- Cost-Efficiency: Cleaning your property yourself can save money on professional cleaning fees.
- Control Over Process: You have complete control over the cleaning process, ensuring everything meets your satisfaction.
Cons:
- Time-Consuming: Cleaning a leased property, especially if large or poorly maintained, can be time-consuming.
- Quality Concerns: Without professional training and equipment, achieving the same cleanliness level as a professional service might be challenging.
- Risk of Penalties: If the property doesn’t meet the landlord’s standards, there’s a risk of losing the security deposit or facing penalties.
After weighing the pros and cons and you decide to clean by yourself, the next step is to prepare an end-of-lease cleaning checklist; collect the required cleaning materials, and finally dive into the cleaning process. Remember, while DIY cleaning has its perks, it’s essential to weigh the time and effort against the potential benefits.
End of Lease Cleaning Checklist

An end-of-lease cleaning checklist will help you to complete all cleaning tasks and manage your time effectively. It also ensures that you do not overlook any areas or items. Additionally, you can stay organized, avoid misunderstandings, and increase the chances of getting your security deposit back. We suggest you consult with your landlord or property manager to determine any specific cleaning requirements before you move out. You can then include these requirements in your checklist.
Here, we have prepared a brief end-of-lease cleaning checklist for you. Since this is a generalized checklist, you need to create your own mainly because the cleaning requirement varies as per property size.
Living Room:
- Dust and clean all surfaces, including tables, chairs, shelves, and other furniture
- Vacuum all carpets and upholstery, including any rugs or mats
- Wipe down all mirrors and windows, including any window treatments or blinds
- Clean all walls and baseboards, including any moldings or trim
- Remove any cobwebs or visible dirt from the ceiling and corners
- Clean any fireplace or wood stove, including the chimney and flue
- Remove all personal belongings and clean any areas where they were stored
- Check all light fixtures and replace any burnt-out bulbs
Kitchen:
- Dust and clean all surfaces, including countertops, tables, chairs, and shelves
- Wipe down all appliances, including the stove, oven, refrigerator, microwave, and dishwasher
- Clean inside and outside of all cabinets and drawers, including any organizers or dividers
- Sweep and mop all floors, including any rugs or mats
- Clean all walls and baseboards, including any moldings or trim
- Remove any cobwebs or visible dirt from the ceiling and corners
- Clean and disinfect the sink, including the faucet and drain
- Clean and disinfect the backsplash and tile
- Remove all personal belongings and clean any areas where they were stored
- Check all light fixtures and replace any burnt-out bulbs
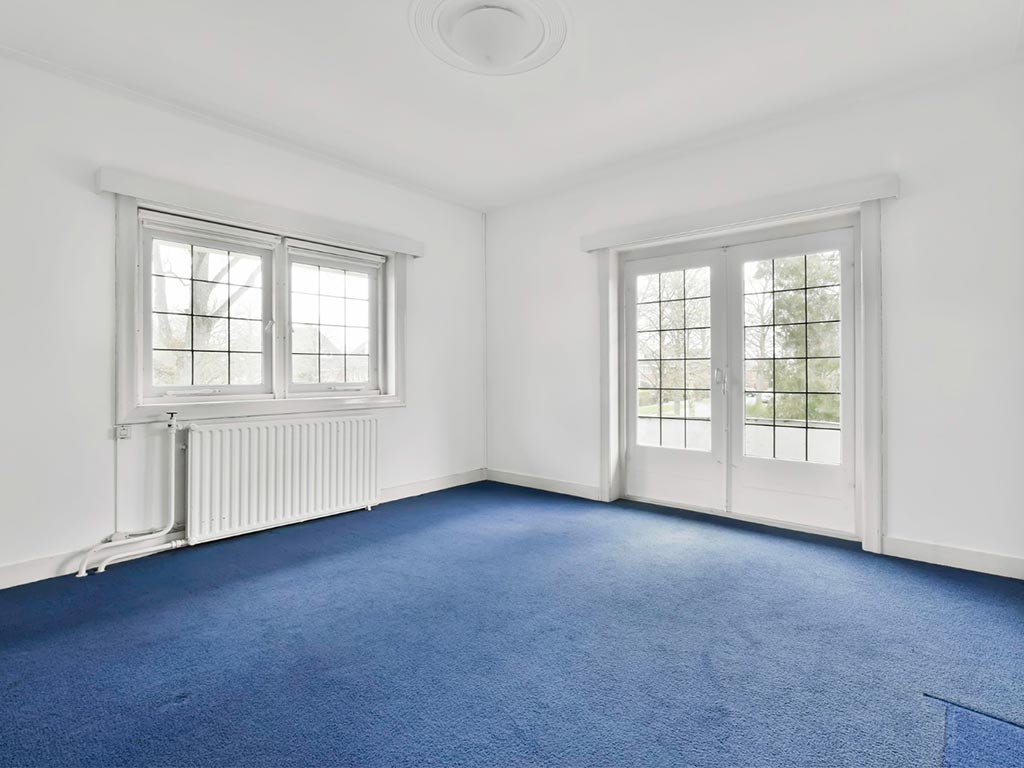
Bedrooms:
- Dust and clean all surfaces, including tables, chairs, shelves, and other furniture
- Vacuum all carpets and upholstery, including any rugs or mats
- Wipe down all mirrors and windows, including any window treatments or blinds
- Clean all walls and baseboards, including any moldings or trim
- Remove any cobwebs or visible dirt from the ceiling and corners
- Clean and organize all closets, including any organizers or dividers
- Clean and organize all drawers, including any organizers or dividers
- Remove all personal belongings and clean any areas where they were stored
- Check all light fixtures and replace any burnt-out bulbs
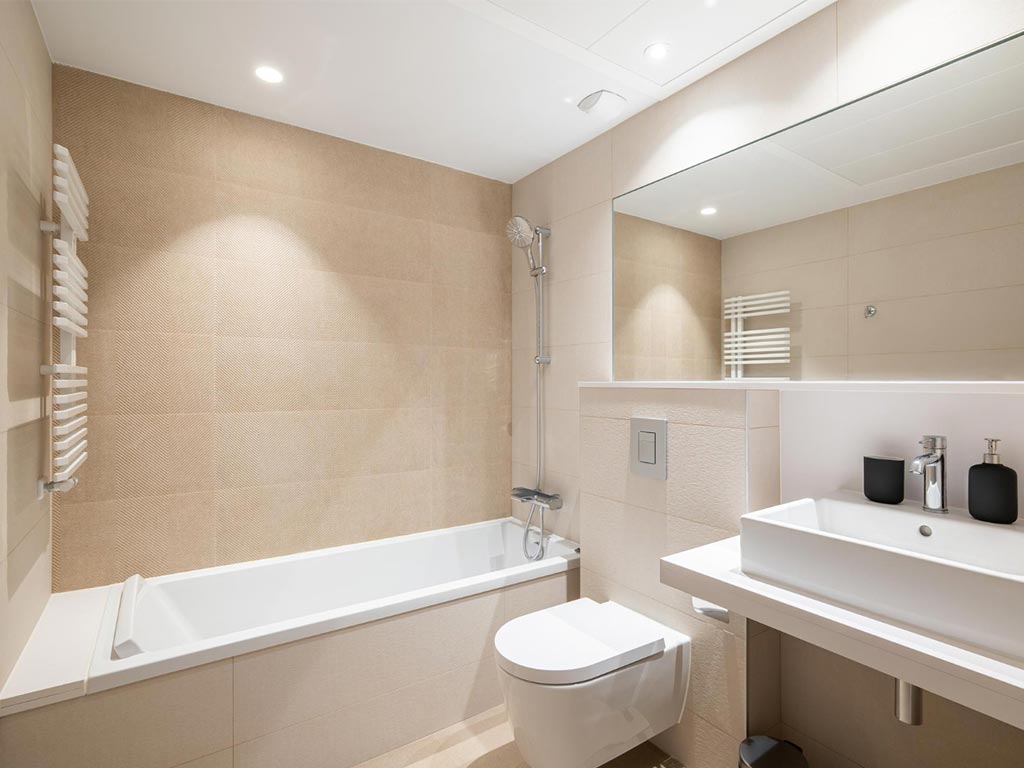
Bathrooms:
- Clean and disinfect all surfaces, including countertops, sinks, and toilets
- Clean and disinfect the shower and tub, including the tiles and grout
- Wipe down all mirrors and windows, including any window treatments or blinds
- Clean all walls and baseboards, including any moldings or trim
- Remove any cobwebs or visible dirt from the ceiling and corners
- Clean and organize all cabinets and drawers, including any organizers or dividers
- Clean and disinfect the toilet, including the seat, tank, and handle
- Clean and disinfect the sink, including the faucet, drain, and countertop
- Remove all personal belongings and clean any areas where they were stored
- Check all light fixtures and replace any burnt-out bulbs
Other Areas:
- Empty all trash cans and dispose of any trash or debris
- Check all light fixtures and replace any burnt-out bulbs
- Clean all ceilings and light fixtures
Collecting required cleaning materials
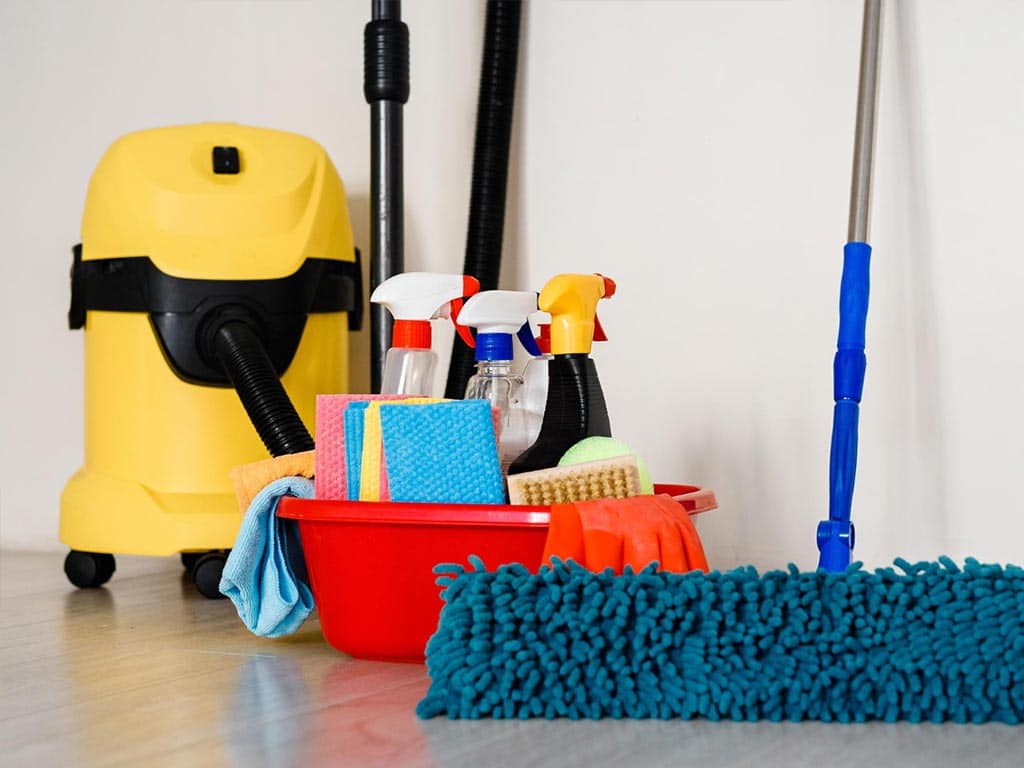
After you prepare your customized end-of-lease cleaning checklists, it’s your turn to collect all the required cleaning materials. You can get these cleaning materials at the local store or departmental stores near your locality. Let’s go through the lists of cleaning materials.
- Vacuum cleaner
- Mop
- Bucket
- Cleaning solution
- Sponges
- Rags
- Degreaser
- Oven cleaner
- Glass cleaner
This is just a basic list of cleaning materials. The list of cleaning materials may vary depending on the nature of the job. Hence It is always a good idea to have a variety of cleaning supplies on hand, as this will allow you to tackle a wide range of cleaning tasks.
You have collected all the required cleaning materials, now, it is time to do the cleaning. The best strategy to do the cleaning without being stressed is to clean room by room. So, let’s look at some cleaning tips that will help you to clean your house at the lease’s end.
Kitchen Cleaning Tips
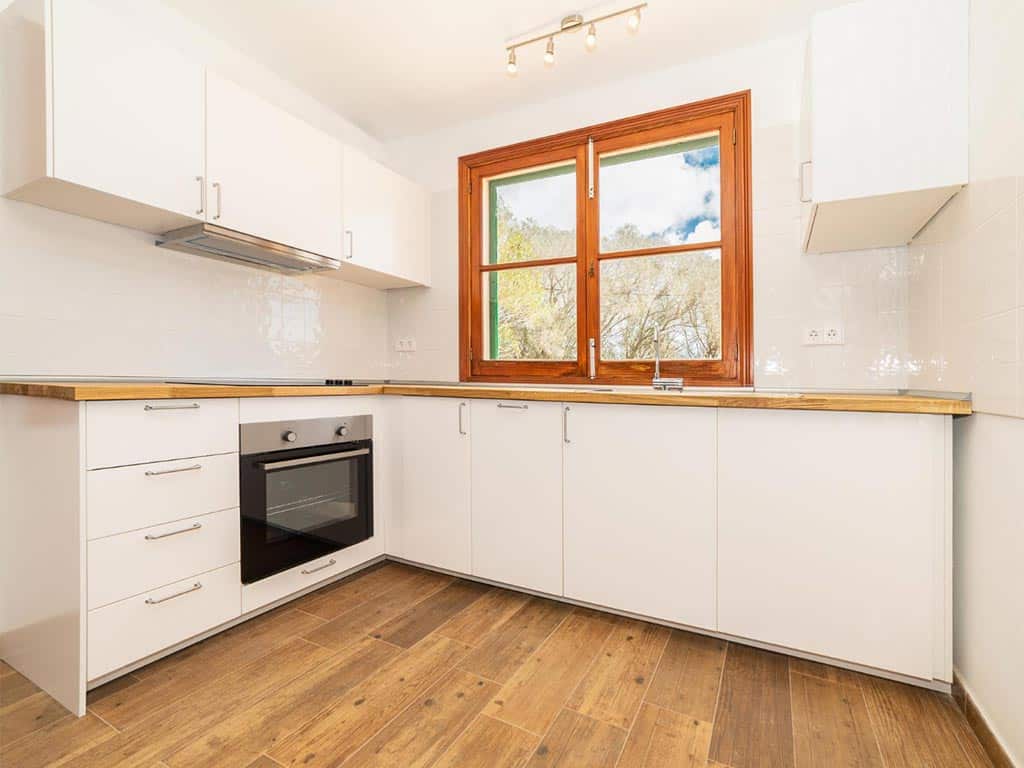
When wrapping up your lease, giving your kitchen a thorough cleaning is crucial to leave the property in top-notch condition. Here’s an easy-to-follow process to get your kitchen spotless:
- Clear the Clutter: Begin by removing all clutter and trash from your kitchen. This sets the stage for a clean workspace, making the rest of the cleaning process more manageable.
- Tackle the Dishes: Address the dishes next. Wash all dishes, pots, and pans present in the kitchen, even those hiding in the back of cabinets. If you have a dishwasher, run it on a hot wash cycle to eliminate germs and bacteria.
- Wipe Down Surfaces: Proceed to wipe down all surfaces, including countertops, backsplash, and cabinets. Utilize a mild cleaner along with a sponge or cloth to eliminate dirt and grime. Pay special attention to stubborn stains or spots.
- Clean the Stove and Oven: Give the stove and oven some attention. Remove any burned-on food or grease from burners and stovetop. Use a stove cleaner to eliminate grime, ensuring to wipe down the oven and inside the oven door.
- Address the Fridge: Don’t neglect the fridge! Empty it, discarding expired or no longer fresh items. Wipe down the inside with a mild cleaner, ensuring you reach all the nooks and crannies.
- Sweep and Mop: Lastly, sweep and mop the floor to eliminate dirt or debris. Pay attention to corners and edges, ensuring a thorough cleaning of the entire kitchen.
By following these straightforward steps, you’ll leave your kitchen in excellent condition as you conclude your lease agreement.
Room Cleaning Tips
- Dusting Surfaces: Begin by dusting all surfaces, including furniture, light fixtures, and baseboards. A dry or slightly damp cloth works well to remove dirt or cobwebs. Pay special attention to corners and hard-to-reach areas.
- Floor Maintenance: Vacuum or sweep the floors, ensuring you reach into corners and around the edges of the room. Don’t forget to vacuum the baseboards and any upholstered furniture. This step keeps your floors looking their best.
- Window Wiping: For clean and clear windows, wipe down both the glass and window sills using a glass cleaner and a lint-free cloth. If you have blinds or curtains, make sure to dust them thoroughly for an all-around fresh look.
By following these simple tips, you can easily maintain a clean and organized living space.
Bathroom Cleaning Tips
- Declutter and Discard: Begin by removing any clutter and disposing of trash in the bathroom. This initial step provides a clean starting point and simplifies the overall cleaning process.
- Tackle Sinks, Toilet, and Shower: Proceed to clean the sinks, toilet, and shower using a bathroom cleaner and scrub brush. Focus on eliminating soap scum or stains, paying extra attention to challenging areas like around faucets and the toilet base.
- Wipe Down Surfaces: Utilize a mild cleaner along with a sponge or cloth to wipe down countertops, backsplashes, and cabinets. Ensure thorough cleaning in nooks, crannies, and around handles or knobs.
- Mirror and Glass Care: Clean mirrors and any glass surfaces with a glass cleaner and lint-free cloth. For shower doors, diligently scrub away soap scum and water spots to achieve a streak-free shine.
- Address the Flooring: Don’t overlook the floor! Begin by sweeping or vacuuming to remove dirt and debris. Follow up with mopping to eliminate any remaining grime, ensuring attention to corners and edges of the room.
By following these steps, you can maintain a spotless and hygienic bathroom effortlessly. Incorporate these practices into your cleaning routine for a consistently fresh and inviting space.
Wall Cleaning Tips
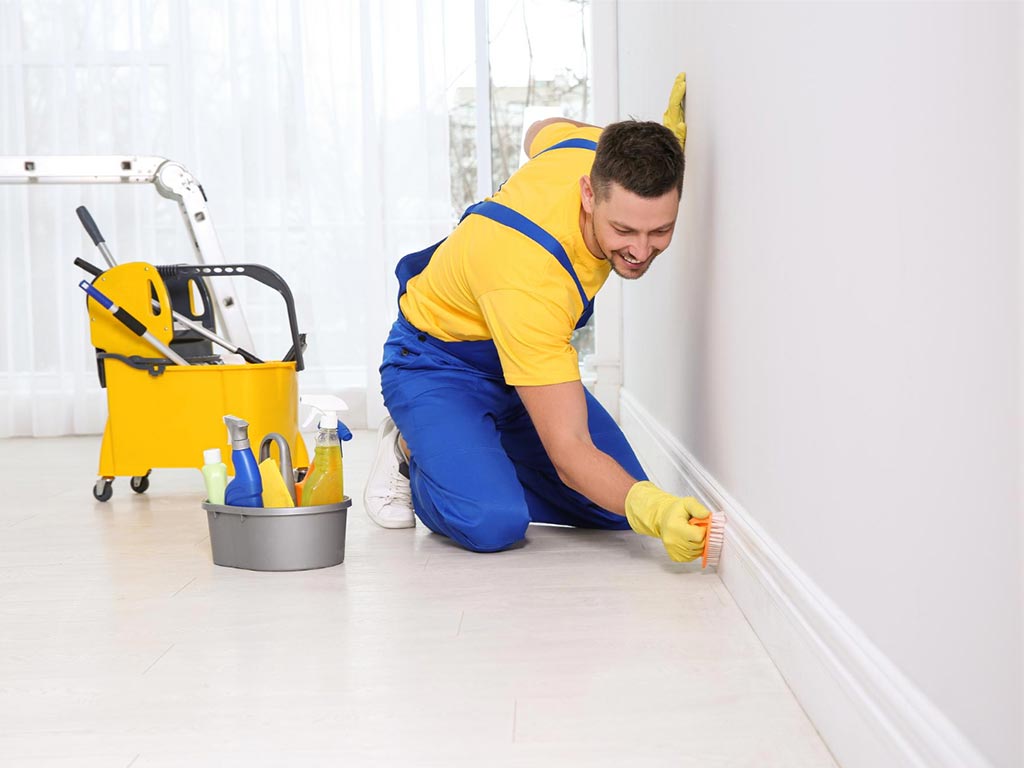
Here’s a straightforward tips, suitable for everyone, on how to keep your walls spotless at lease end.
- Dusting Away Cobwebs and Dirt: Commence the wall-cleaning process by dusting off any cobwebs or accumulated dirt. Use a dry or slightly damp cloth for this task. Ensure you cover all surfaces, paying special attention to corners and those hard-to-reach areas.
- Tackling Scuff Marks and Stains: If you encounter scuff marks or stains on the walls, employ a mild cleaner along with a sponge or cloth. Gently scrub away these blemishes, putting in a bit of effort for stubborn stains that may require extra attention.
- Care for Painted Walls: For painted walls, a damp cloth is sufficient to remove dirt or grime. In case of scuff marks or stains on the paint, a small amount of paint cleaner can be used to eliminate them effectively.
- Wallpaper Maintenance: If your walls feature wallpaper, use a mild cleaner in combination with a sponge or cloth. Wipe down the surface gently, with special focus on areas prone to dirt or grime, such as around light switches or outlets.
- Baseboards and Trim: Don’t overlook the baseboards and trim. Utilize a dry or slightly damp cloth to wipe down these areas, ensuring the removal of any dirt or cobwebs that may have accumulated.
By following these simple steps, you can uphold the cleanliness of your walls, ensuring a well-maintained and welcoming living space for next tenants.
Carpet Cleaning Tips
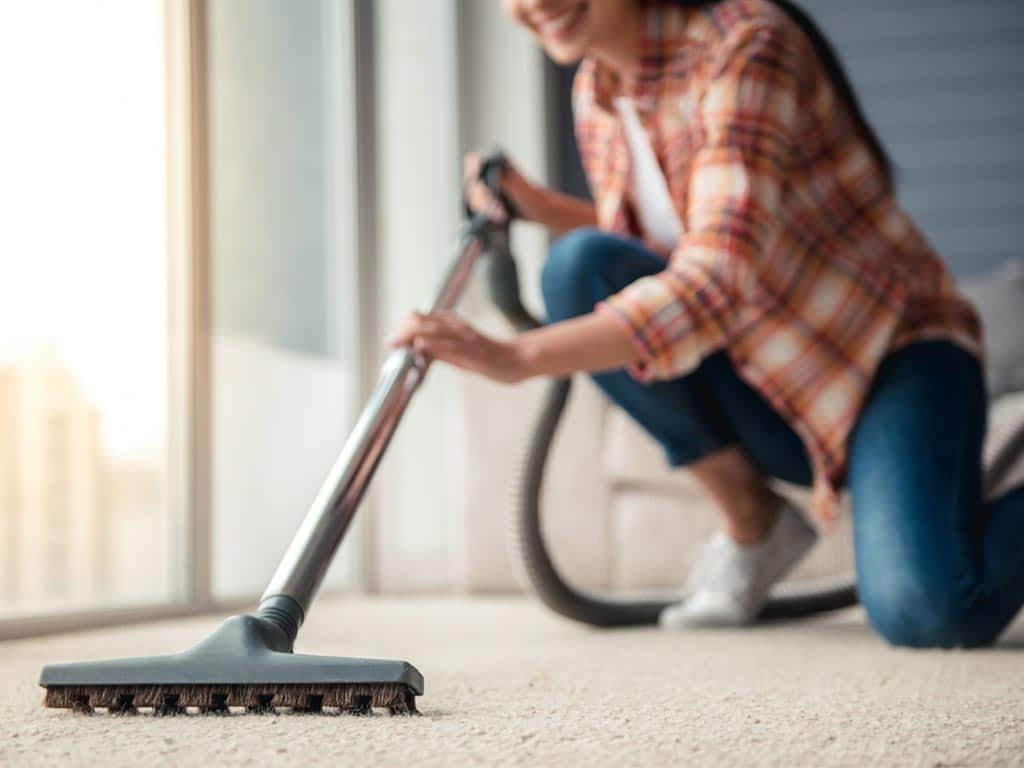
Here’s a guide to help you keep your carpets in top-notch condition and impress your landlord.
- Thorough Vacuuming is Key: Initiate the cleaning process by giving your carpets a thorough vacuum. Pay close attention to high-traffic areas and corners. Use the crevice tool for tight spaces and the brush attachment to loosen dirt and debris effectively.
- Swift Action for Stains and Spills: Address any stains or spills promptly. Utilize a carpet cleaner or a mix of water and mild detergent to gently scrub the stain. As you go, blot it with a clean cloth. This quick action helps prevent the stain from setting.
- Professional Help for Stubborn Stains: For deeper or stubborn stains, consider hiring a professional carpet cleaning service. While it might be a bit more expensive, it ensures the best results and guarantees your carpets are impeccably clean.
- Care for Rugs and Mats: Extend your cleaning routine to rugs and mats. Thoroughly vacuum them, paying attention to details. If there are any stains or spills, spot-clean them to maintain the overall cleanliness of your space.
By following these simple yet effective carpet cleaning tips, you’ll be able to preserve the beauty of your carpets and ensure a clean and comfortable living environment.
Oven Cleaning Tips
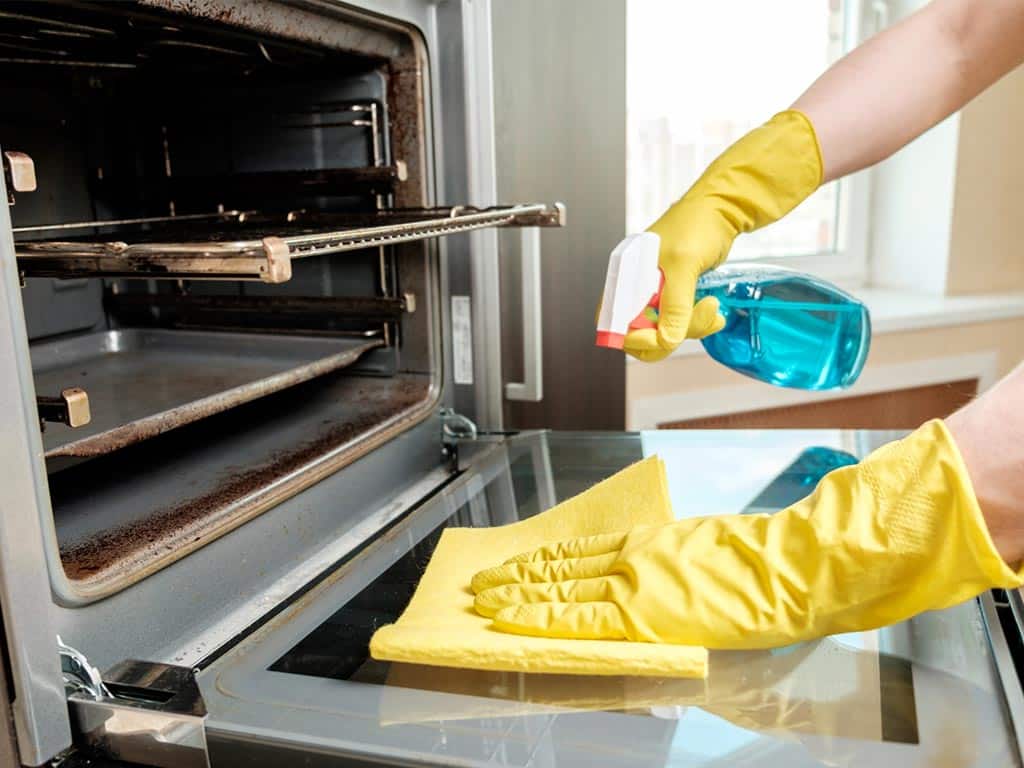
Follow these straightforward steps to ensure your oven stays in top-notch condition at lease end.
Step 1: Remove the Racks and Parts
Begin by taking out all the racks and any other removable parts. This includes grids and anything that can be detached. Let them soak in a sink filled with hot, soapy water to loosen any stubborn food residue.
Step 2: Clean the Oven Racks
While the racks are soaking, use a scouring pad or steel wool to scrub away any tough, baked-on food. Rinse them thoroughly and dry them before placing them back in the oven.
Step 3: Wipe Down the Inside
Grab a soft cloth or sponge and wipe down the inside of the oven. This includes the walls, door, and ceiling. Ensure you reach into all the corners and crevices. Mild detergent and hot water can be used to help loosen any stuck-on grime.
Step 4: Scrub the Oven Door
The oven door tends to accumulate baked-on food and grime. Use a scouring pad or steel wool to scrub away the residue. Follow it up with a wipe down using a soft cloth or sponge.
Step 5: Clean the Oven’s Exterior
Don’t forget the exterior! Wipe down the oven’s outer surface, including the handle, control panel, and knobs. Ensure thorough drying to prevent streaks and water spots.
Step 6: Final Wipe-Down
Once all the different parts of the oven are cleaned, give it a final wipe-down with a clean, dry cloth. This helps remove any remaining soap residue or streaks.
By following these simple steps, you can keep your oven in great shape without the hassle.
Asking for inspection
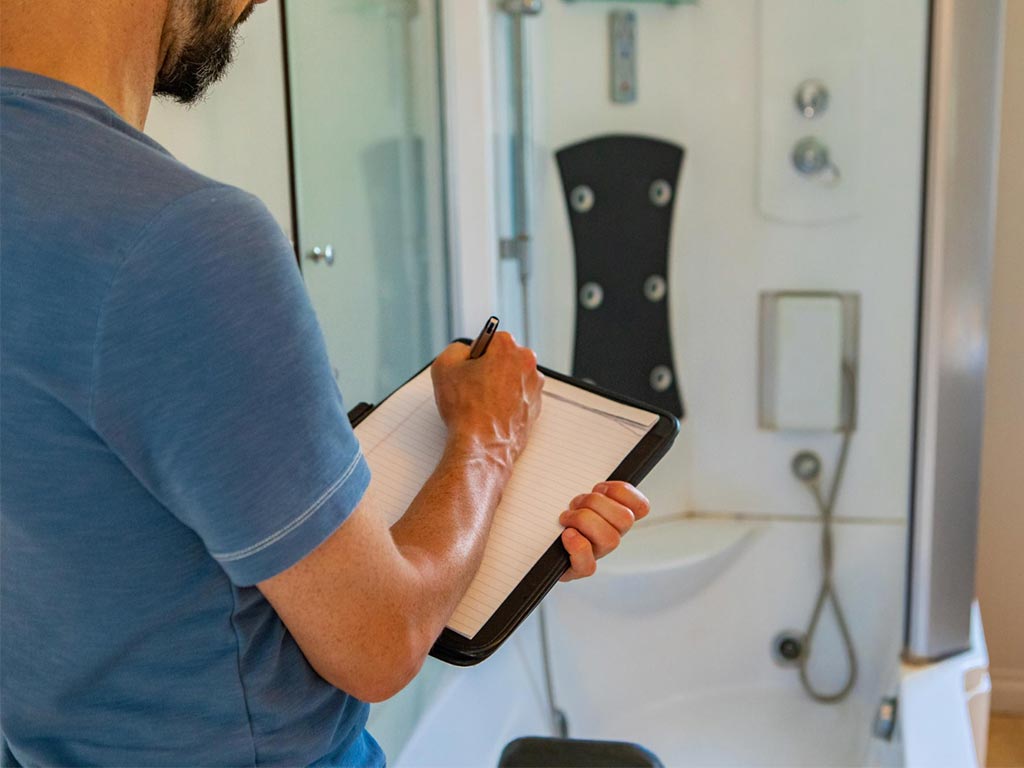
Finally, after cleaning the property thoroughly, you can now ask for an inspection. To schedule an inspection, follow these steps:
Step 1: Reach Out to Your Landlord or Property Manager
Contact your landlord or property manager using your preferred method—whether it’s by phone, email, or in person. Politely express your intention to request an inspection.
Step 2: Propose an Inspection Date
When communicating with your landlord or property manager, inform them of your desire to have an inspection at the end of your lease. Inquire about specific dates or times that work for both parties.
Step 3: Confirm Inspection Details
Ensure you confirm all the vital details of the inspection with your landlord or property manager. This includes the agreed-upon date, time, and any particular areas of the property they plan to inspect. It’s also useful to ask if there are specific tasks, like cleaning or repairs, you should prepare for.
Step 4: Get Ready for the Inspection
A few days before the inspection, take the time to tidy up the property and address any necessary repairs or maintenance tasks. This proactive approach will contribute to a smooth inspection and a prompt return of your bond.
Step 5: Attend the Inspection
On the scheduled day, be punctual and present throughout the entire inspection process. This allows you to address any concerns or issues that may arise during the inspection.
Step 6: Follow Up Post-Inspection
After the inspection concludes, your landlord or property manager may provide a list of items requiring attention, such as repairs or cleaning before moving out. Promptly address these items and confirm completion to their satisfaction.
Remember to maintain a professional and respectful tone when communicating with your landlord or property manager throughout the inspection process. Proactively address any issues or concerns to ensure a smooth and successful end to your lease.